


7/30/2023, 07:21:42
How to setup your WordPress website Health Monitoring
Step 1
Download the WPMissionControl Plugin here.
Step 2
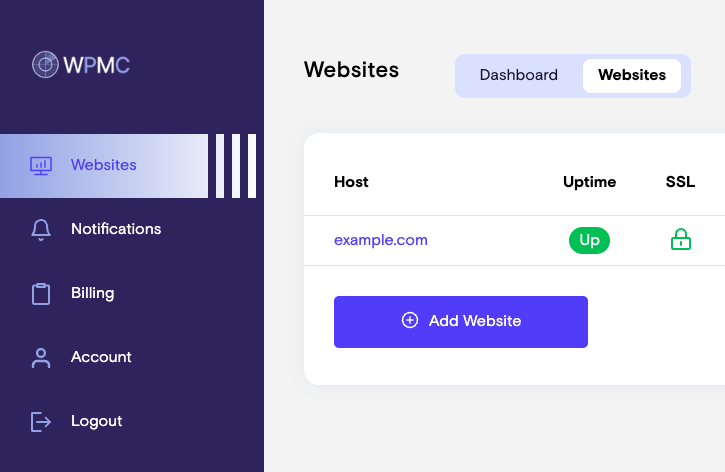
Login to your Dashboard at https://wpmissioncontrol.com and navigate to Websites page.
Step 3
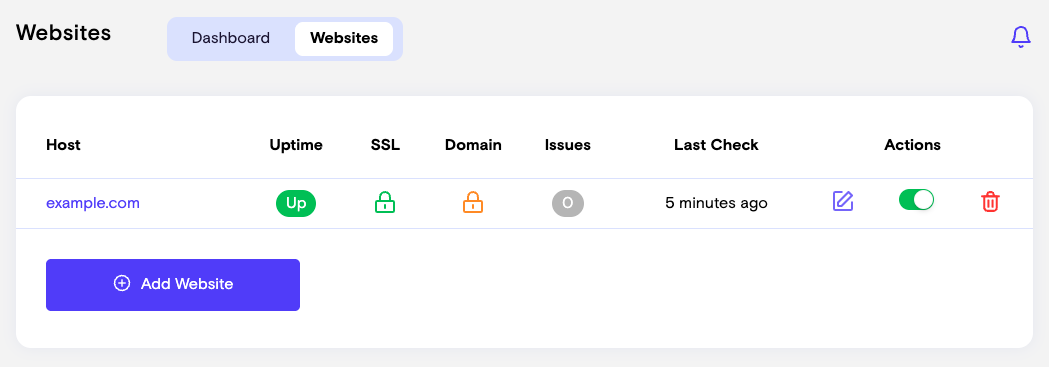
Click on the blue Edit button on the right:
Scroll down to the Health section and click on the Generate API Key button:
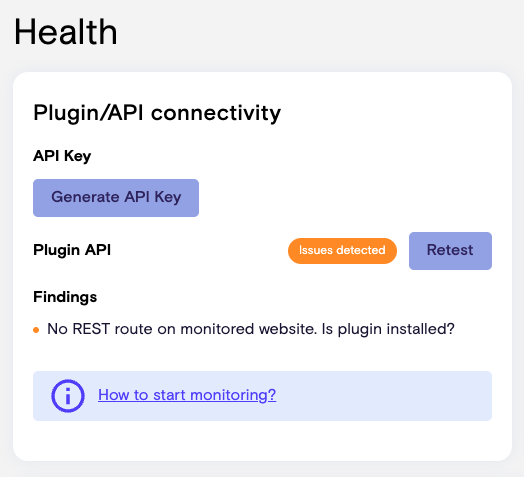
Copy the API Key.
In future you can always find your API Key by clicking on the blue Edit button and checking the Health section of the Website Details page.
Step 4
Install the plugin on your website:
1. Login to your WordPress dashboard
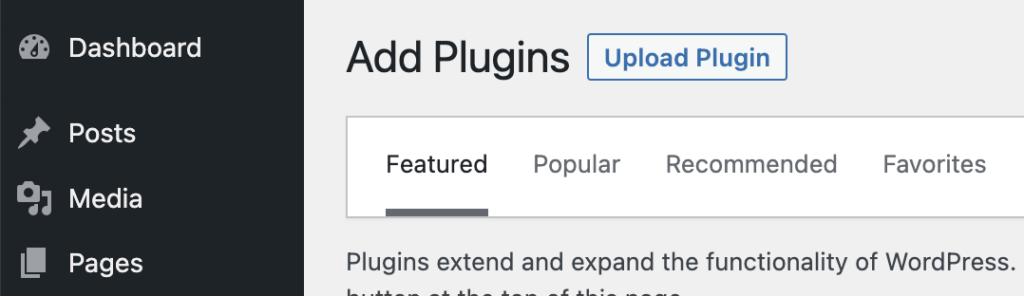
2. Navigate to Plugins -> Add New
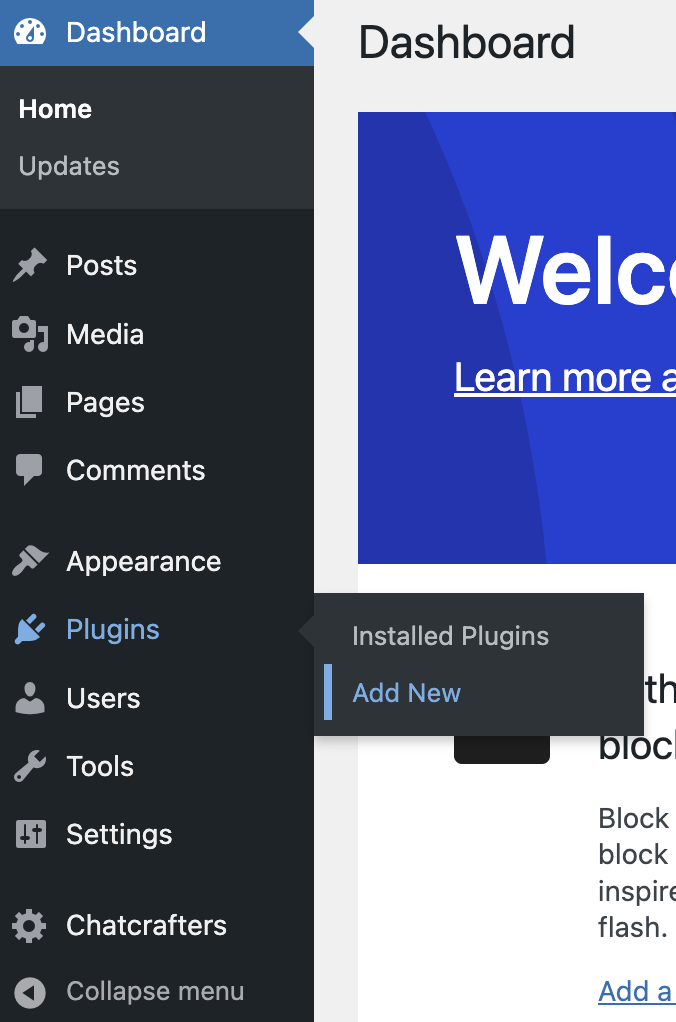
3. Click the Upload Plugin button
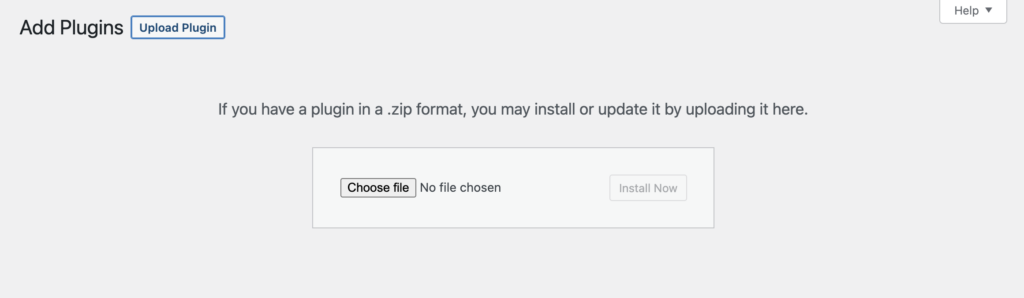
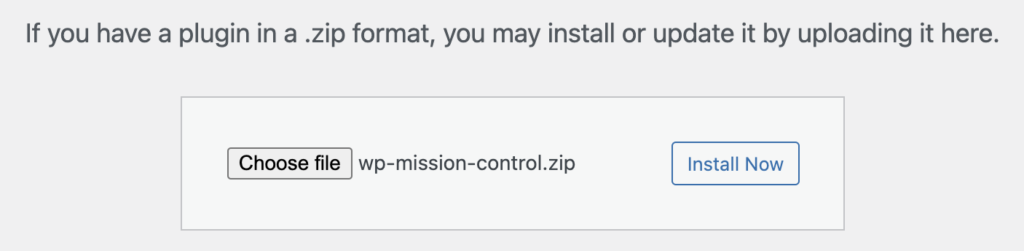
4. Click the Choose File button and select your recently downloaded plugin file (wpmissioncontrol.zip)
5. After selecting the file, Install Now button will become active, click it.
6. Click on the Activate Plugin button upon installation
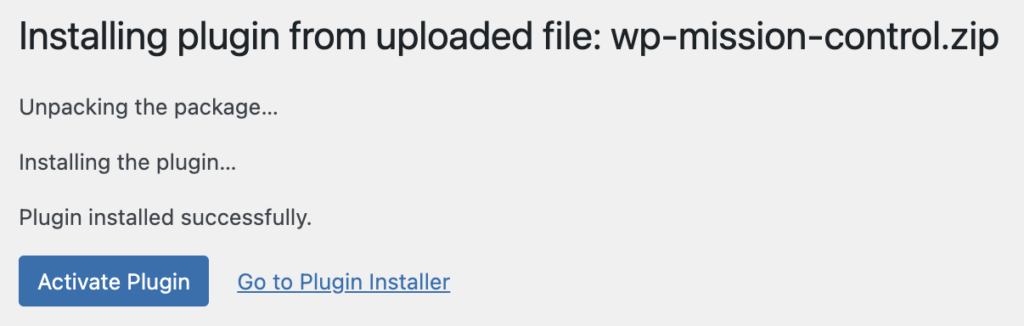
7. The plugin will be activated and you will be redirected to the settings page
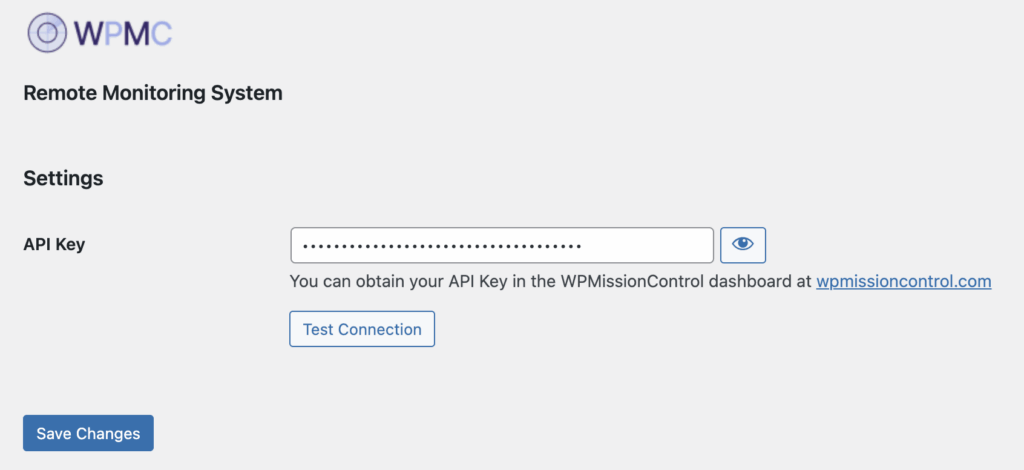
8. Insert your API key and click the Save Changes button.
After completing all these steps, the system will detect your settings automatically and notify you via your configured notification channels.
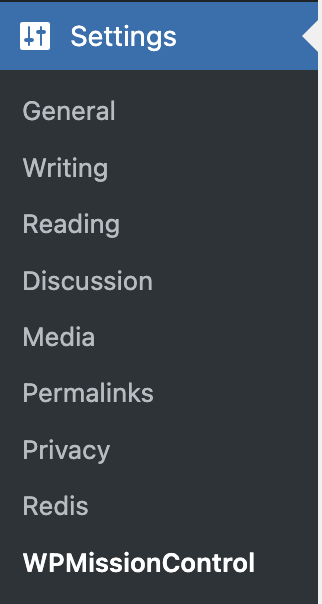
Use Settings -> WPMissionControl to access the WPMC Settings screen in your website admin dashboard if you need to troubleshoot connectivity or copy your Security Badge shortcode.
Know What’s Happening — Without Guessing.
WPMissionControl watches over your WordPress site day and night, tracking uptime, security, performance, and visual integrity.
AI detects and explains changes, warns about risks, and helps you stay one step ahead.
Your site stays safe, transparent, and under your control — 24/7.